Create PCBs with the direct toner method
Material:
- Laser printer (i use a HP laserjet 1010)
- Iron
- Copper coated fiberglass (FR4) board - without photo resist
- Acetone
- Etchand (e.g. "Natriumpersulfat" sodium sulfate ?)
1. Layout
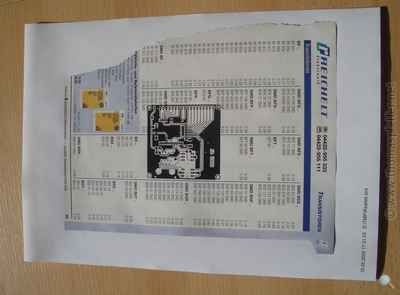
The layout is printed with the laser printer on a page of a "Reichelt-Catalog (it's a german Distributor, the pages of some magazines also works well).
If there are problems with paper-jam, use Scotch tape to stick the catalog side at the top of a page of typewriter paper.
The Layout should be mirrored (i.e. typo not readable).
2. Crop and align
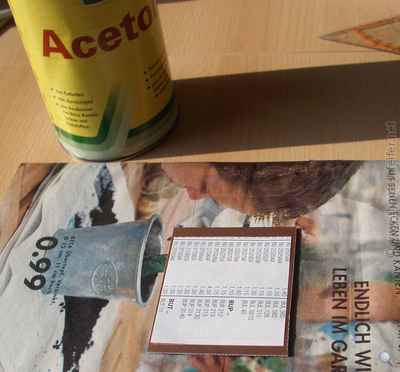
Remove dust and fingerprints on the board with acetone. That is important, otherwise the toner will not retain.
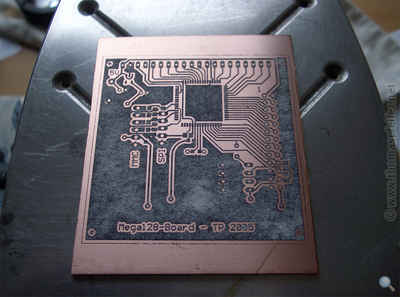
Cut out the layout an put it with the printed side on the board. If necessary, you can fix the layout with Scotch Tape.
3. Ironing
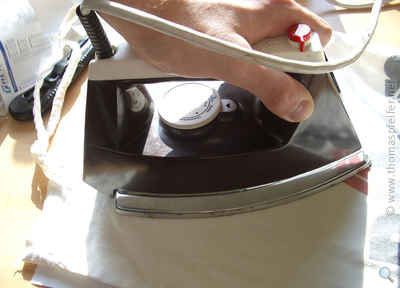
Put a linen cloth (i use an old purchase bag) on the board.
Iron the layout on the board with circling movements and light pressure.
Thereby the correct temperature is important. If it is too high, the toner becomes too liquid and the strip lines become blurred. If it is too low, the toner does not retain on the copper.
A setting between “wool” and “silk” works good for me.
4. Remove the paper
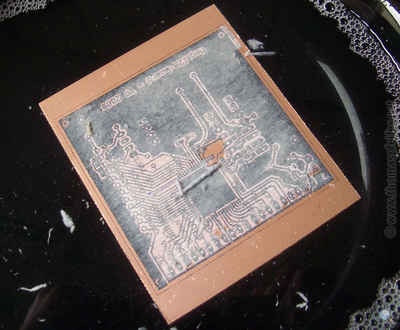
Wait until the board has cooled down. Put it in a plate with cold water and somewhat soap.
After some minutes you can carefully remove the paper by rubbing it. The toner should remain on the board. If not, you can remove the toner with Acetone an try it again.
5. Burn in (optional)
After removing the paper roughly, one can "burn in" the toner optionally.
Set the Iron to the maximum and put the dry (!) board on it for a few minutes.
The toner becomes again liquid thereby. Thus smallest holes are closed and the toners connect themselves optimally with the copper.
6. Etching
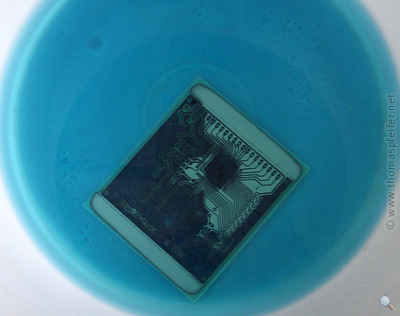
Now the plate is put into the etching bath. I use an old bucket.
7. Finished
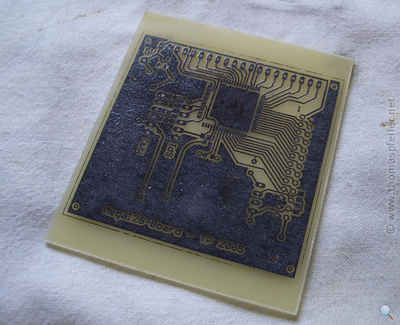
After etching, you only have to remove toner. This can be easily done with acetone.
Results
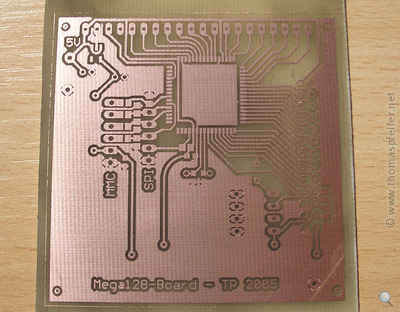
I have made several PCBs with this method, partly with TQFP SMD parts.
In a test i have etched 3 mil (0,0762mm) conductive strips (!).
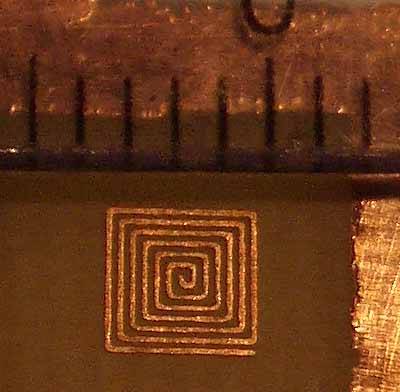
Bild 9: 3mil conductive strip
Video Tutorial
The Tonertransfer-Method as a Video-how-to (single-side, fuser, laminator, tin-platet). The Video is in 4x time lapse.
Video 1: How to create your own PCB's
Note: in the video i use the heater of a document laminator instead of the clothes iron. It was modified to reach a constant temperature of approx. 220 degree Celsius. More information can be found here: modified document laminator (german)

